How to Create a WordPress Widget From Scratch
- WordPress
- 3,232 views
- Ingavar J.

WordPress Widgets are blocks of static or dynamic HTML content that can be added to specific areas of the front-end pages (widget areas or sidebars). WordPress provides a good number of built-in widgets, like Archives, Categories, Tag Cloud, Search, Recent Posts, Calendar, and more. Moreover, as I’m going to explain in this post, plugin developers can easily create a WordPress widget from scratch, add custom features and specific content to any theme supporting this amazing feature.
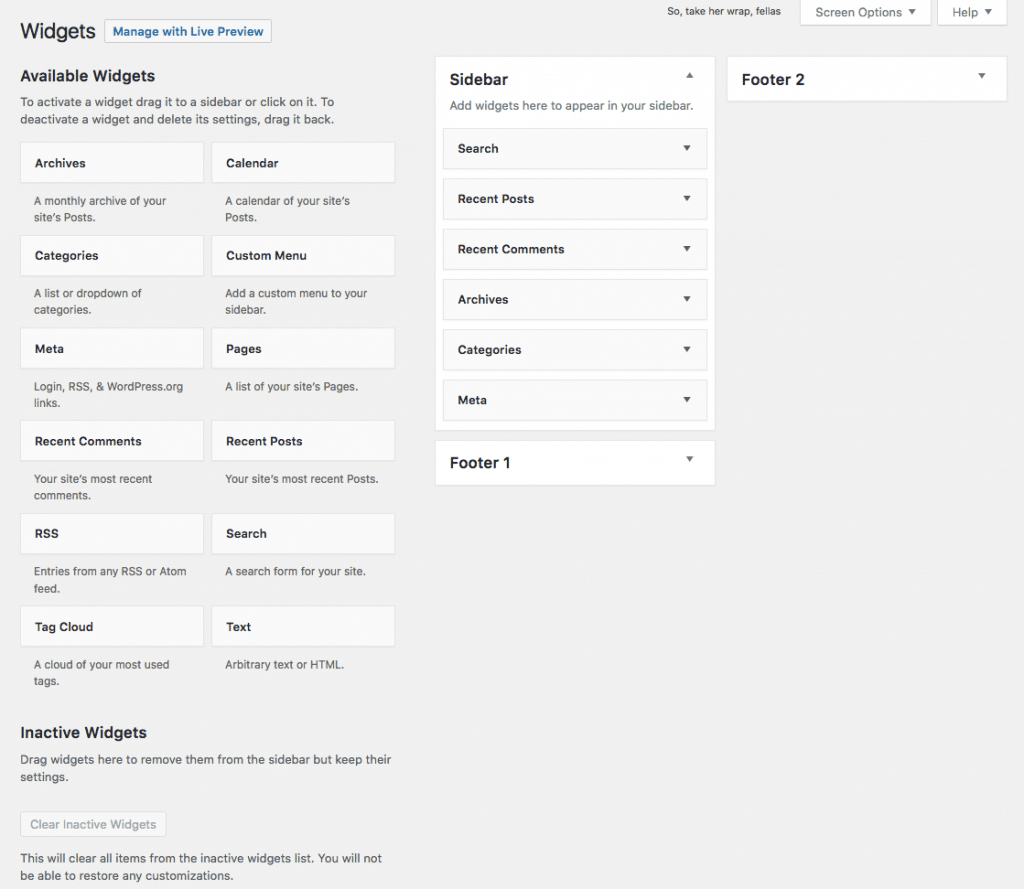
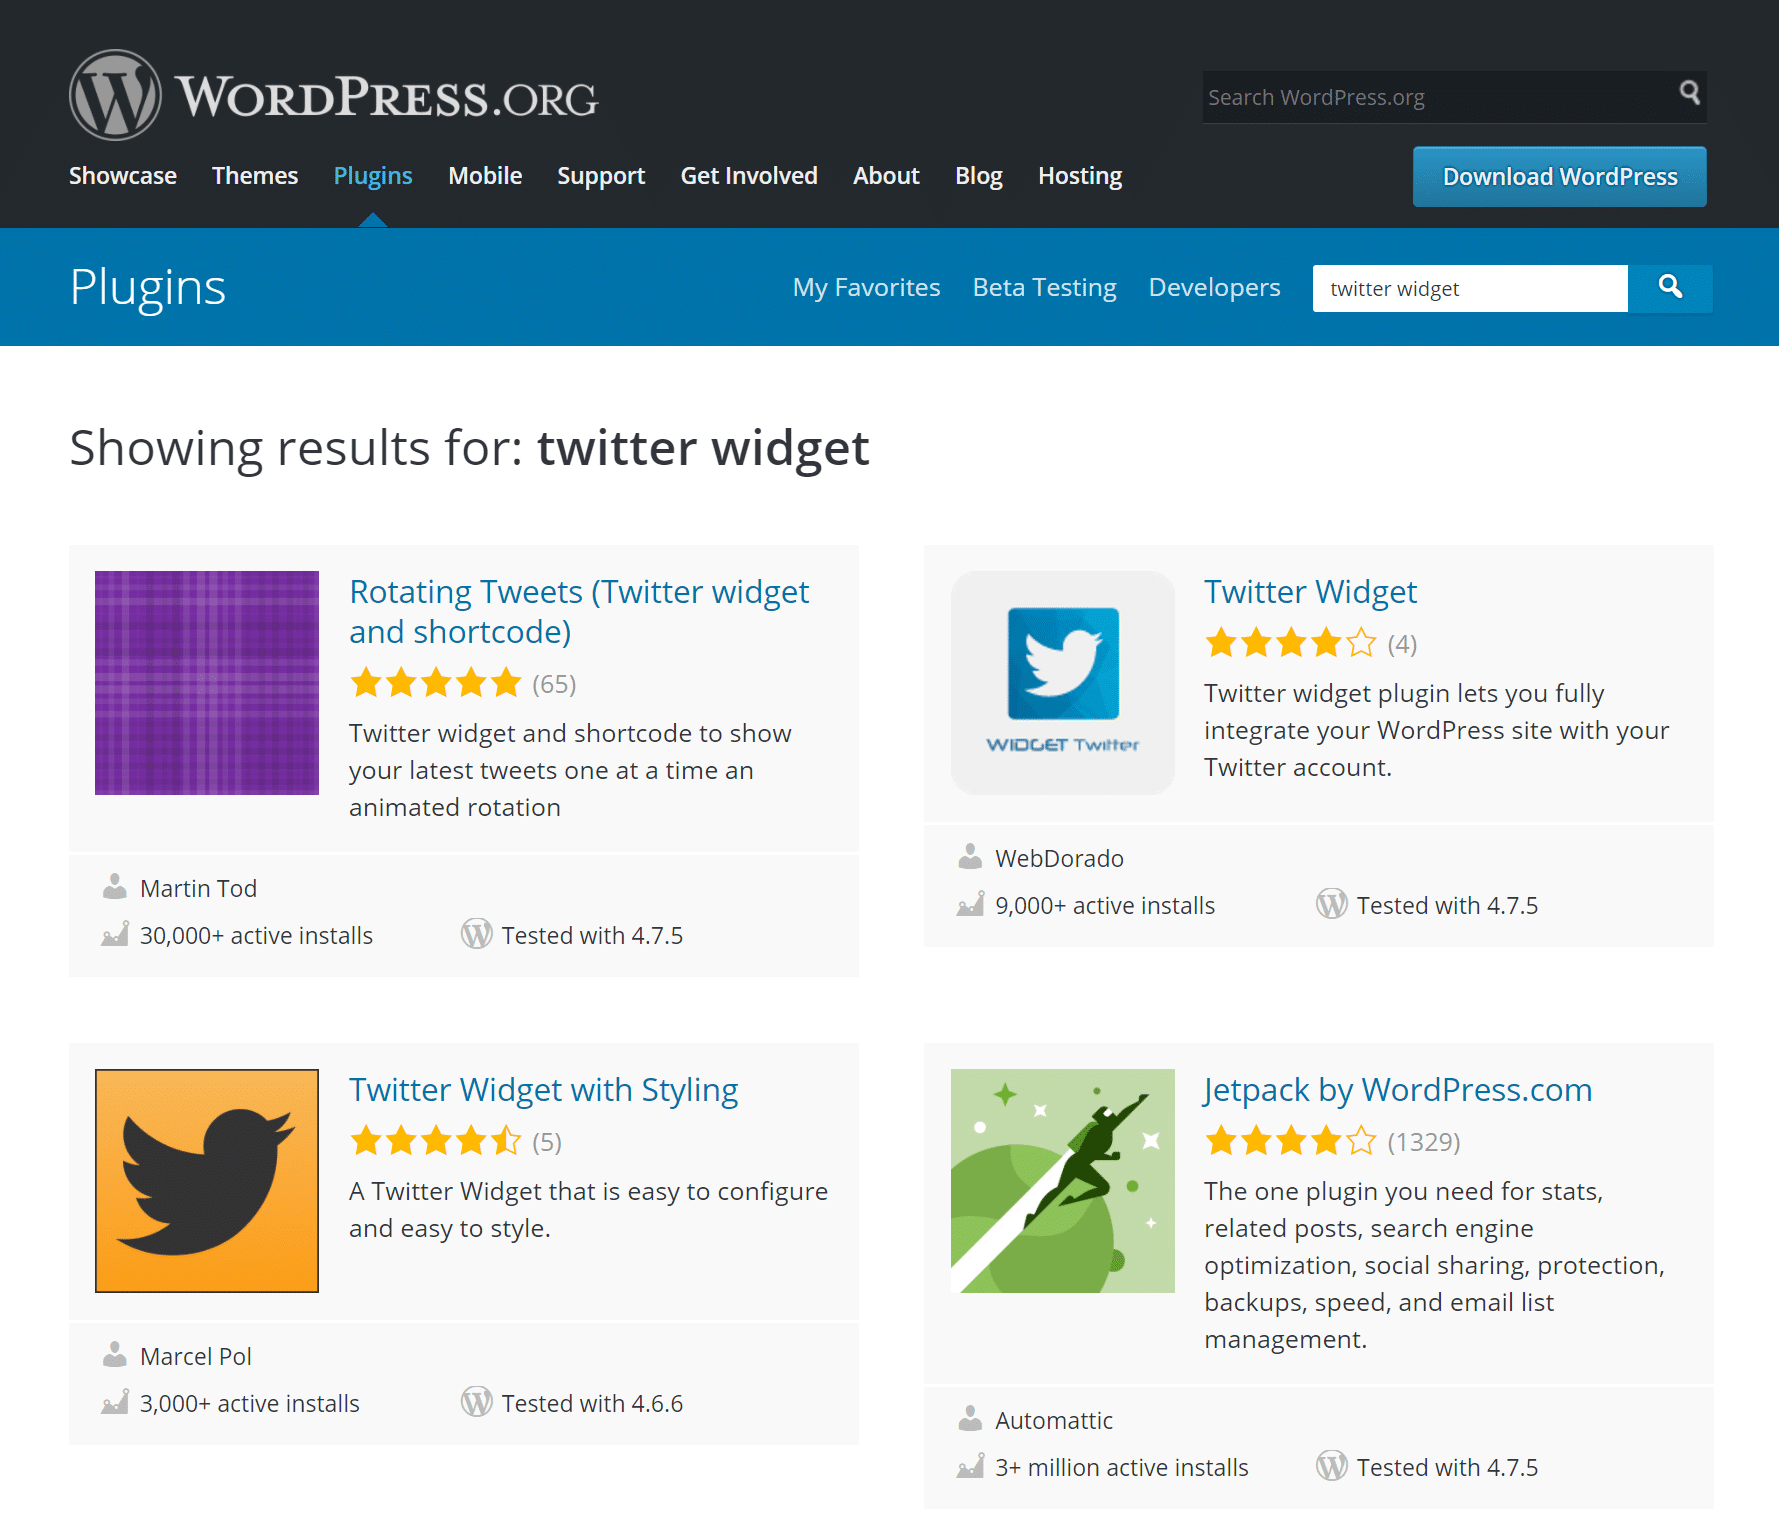
You can find tons of WordPress widgets in the Plugin Directory (currently over 50,000), in WordPress markets and vendor websites, and you’ll probably find any widget you may need. Anyway, occasionally you will not find the widget you’re looking for, and you’ll need to build your own.
How to Create a WordPress Widget
The good news is that you can create a WordPress widget even if you’re not a professional developer. You just need a very basic knowledge of OOP in PHP, and a general understanding of WordPress plugin development. This post will drive you through WordPress widgets development, explaining how to build a widget that allows site admins to select a list of posts to be displayed in a sidebar.
We’ll follow these steps:
- Building and installing a plugin that provides a simple widget
- Setting up the widget
- Building the admin form
- Updating widget options
- Producing and printing the widget output
The Basic Structure of WordPress Widgets
From a developer perspective, a widget is an instance of the WP_Widget class. So, in order to build a custom widget, we need to extend this class from a plugin. Our first task is to create a new .php file in /wp-content/plugins/my-widget/ folder having the following header:
<?php
/*
Plugin Name: My Widget
Plugin URI: http://wordpress.org/extend/plugins/#
Description: This is an example plugin
Author: Your Name
Version: 1.0
Author URI: http://example.com/
*/
This is just a simple plugin header, but it’s enough for our purposes (you’ll find further information about header requirements in the Codex). Save the script as my-widget.php, jump to Plugins Screen, and activate the plugin. Now we have to extend the WP_Widget class and some of its functions at a precise moment of WordPress execution. Let’s add the following code to our plugin:
// register My_Widget
add_action( 'widgets_init', function(){
	register_widget( 'My_Widget' );
});
The add_action function hooks a custom callback to the widgets_init action hook, which fires after all default widgets have been registered.
Note: an action hook provides a way for running a function at a specific point in the execution of WordPress and its extensions (see WordPress Codex for further information)
The register_widget function registers the specified widget, which is an extension of the WP_Widget class:
class My_Widget extends WP_Widget {
	// class constructor
	public function __construct() {}

	// output the widget content on the front-end
	public function widget( $args, $instance ) {}

	// output the option form field in admin Widgets screen
	public function form( $instance ) {}

	// save options
	public function update( $new_instance, $old_instance ) {}
}
In order to build our simple widget we just need to use four class methods:
- __construct is the class constructor and allows to set custom widget parameters.
- widget() echoes the widget’s content on the front-end.
- form() outputs the widget’s admin form elements.
- update() updates the current widget object.
You can grab this code from Gist. Once we’ve set up a basic plugin template, we can move a step forward, and define each subclass method.
Setting up the Widget: the Class Constructor
The class constructor registers widget ID, title, and additional options, like classname, description, base_id, with and height. In our example widget we assign ID, name and two widget option:
public function __construct() {
	$widget_ops = array(
		'classname' => 'my_widget',
		'description' => 'A plugin for Host SEO blog readers',
	);
	parent::__construct( 'my_widget', 'My Widget', $widget_ops );
}- my_widget is the Base ID for the widget
- ‘My Widget’ is the widget title
- $widget_ops is an array of options
See the Code Reference for the full list of available options.
Building the Admin Form
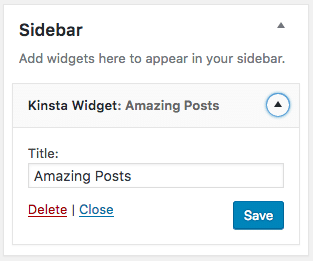
Following, we have to build an admin form allowing users to set custom options for the widget. To accomplish this task we define the form() method as follows:
public function form( $instance ) {
	$title = ! empty( $instance['title'] ) ? $instance['title'] : esc_html__( 'Title', 'text_domain' );
	?>
	<p>
	<label for="<?php echo esc_attr( $this->get_field_id( 'title' ) ); ?>">
	<?php esc_attr_e( 'Title:', 'text_domain' ); ?>
	</label>

	<input
		class="widefat"
		id="<?php echo esc_attr( $this->get_field_id( 'title' ) ); ?>"
		name="<?php echo esc_attr( $this->get_field_name( 'title' ) ); ?>"
		type="text"
		value="<?php echo esc_attr( $title ); ?>">
	</p>
	<?php
}
The form() function keeps as argument an array of the current widget options. The ‘title’ element of $instance provides the title option, while get_field_id and get_field_name set ID and name values to the text field.
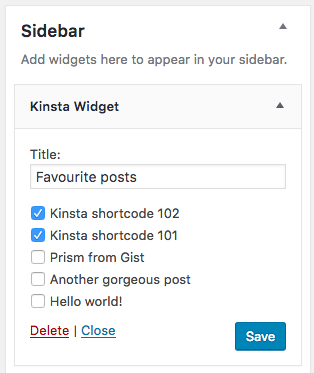
This simple example demonstrates how to get option values from the database, and use them to build an admin form to configure the widget’s behavior. Obviously, we are not limited to text fields. The following code provides a checklist of the most recent posts:
public function form( $instance ) {

	$posts = get_posts( array(
			'posts_per_page' => 20,
			'offset' => 0
		) );
	$selected_posts = ! empty( $instance['selected_posts'] ) ? $instance['selected_posts'] : array();
	?>
	<div style="max-height: 120px; overflow: auto;">
	<ul>
	<?php foreach ( $posts as $post ) { ?>

		<li><input
			type="checkbox"
			name="<?php echo esc_attr( $this->get_field_name( 'selected_posts' ) ); ?>[]"
			value="<?php echo $post->ID; ?>"
			<?php checked( ( in_array( $post->ID, $selected_posts ) ) ? $post->ID : '', $post->ID ); ?> />
			<?php echo get_the_title( $post->ID ); ?></li>

	<?php } ?>
	</ul>
	</div>
	<?php
}
The get_posts() function provides an array of posts based on the specified parameters. In our example, we just get the latest twenty posts in chronological order, but we can build more advanced queries by setting any combination of the available query variables (see the Codex for a comprehensive list of query vars).
Following, a ternary operator checks whether a valid value of $instance[‘selected_posts’] exists. If not, the value of $selected_posts is set to an empty array. The foreach cycle iterates over the elements of $posts, and prints a checkbox for each one. The checked function compares two arguments and prints the checked attribute if they are identical.
Updating Widget Options
The update() method updates an instance of a widget. We define the function as follows:
public function update( $new_instance, $old_instance ) {
	$instance = array();
	$instance['title'] = ( ! empty( $new_instance['title'] ) ) ? strip_tags( $new_instance['title'] ) : '';

	$selected_posts = ( ! empty ( $new_instance['selected_posts'] ) ) ? (array) $new_instance['selected_posts'] : array();
	$instance['selected_posts'] = array_map( 'sanitize_text_field', $selected_posts );

	return $instance;
}
The function keeps two arguments:
- $new_instance is an array of settings as submitted by the user
- $old_instance is an array of settings as stored in the database
Here is what happens:
- $instance[‘title’] stores the new value of the widget title or an empty string if unavailable
- $selected_posts stores the IDs of user-selected posts or an empty array
- $instance[‘selected_posts’] stores a sanitized version of $selected_posts
- the function returns $instance
Now the widget form is in action and user options can be saved into the database. Our final task is displaying the output on the site front-end.
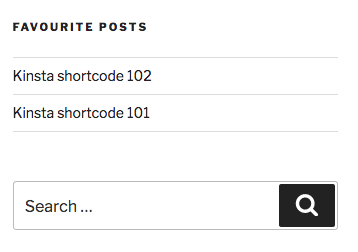
The Widget Output
The widget() method prints the widget’s content onto the front site. The function gets the selected posts and runs a foreach cycle which produces a list item for each post. The widget function is defined as follows:
public function widget( $args, $instance ) {
	echo $args['before_widget'];
	if ( ! empty( $instance['title'] ) ) {
		echo $args['before_title'] . apply_filters( 'widget_title', $instance['title'] ) . $args['after_title'];
	}

	if( ! empty( $instance['selected_posts'] ) && is_array( $instance['selected_posts'] ) ){

		$selected_posts = get_posts( array( 'post__in' => $instance['selected_posts'] ) );
		?>
		<ul>
		<?php foreach ( $selected_posts as $post ) { ?>
			<li><a href="<?php echo get_permalink( $post->ID ); ?>">
			<?php echo $post->post_title; ?>
			</a></li>
		<?php } ?>
		</ul>
		<?php

	}else{
		echo esc_html__( 'No posts selected!', 'text_domain' );
	}

	echo $args['after_widget'];
}
The widget() function keeps two arguments:
- $args is an array of arguments including ‘before_title’, ‘after_title’, ‘before_widget’, and ‘after_widget’
- $instance is an array of widget settings
If a valid title is found, it’s sanitized through the widget_title filter. Then, if at least one post has been selected, get_posts returns an array of post objects. Finally, the foreach cycle builds a list item for each selected post. The full code of this plugin is available on Gist
Wrapping Up
Anyone with a basic knowledge of PHP and WordPress development can quickly learn how to build their own WordPress widgets. Even if you’re not a WordPress developer yet, building a widget could give you the occasion of a first approach to plugin development. Ready to create a WordPress widget of your own?