How to manage databases with phpMyAdmin
- MySQL Question
- 1,765 views
- Aelswith E.

phpMyAdmin is an application for MySQL databases management. With it you can create, alter, drop, delete, import and export MySQL database tables. You can also run MySQL queries, optimize, repair and check tables, change collation.
NOTE: Make sure the database you would like to manage is already created in the MySQL Databases menu.
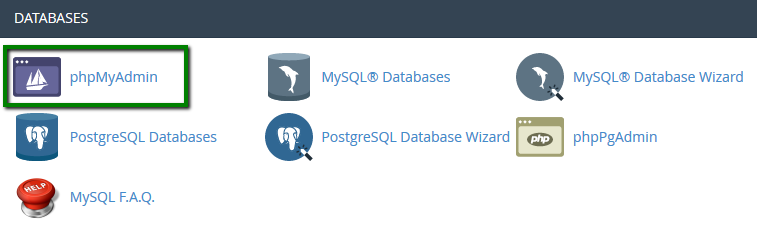
The phpMyAdmin menu in located in cPanel >> Databases section.
Letâ$™s take a look at the most widely used tabs.
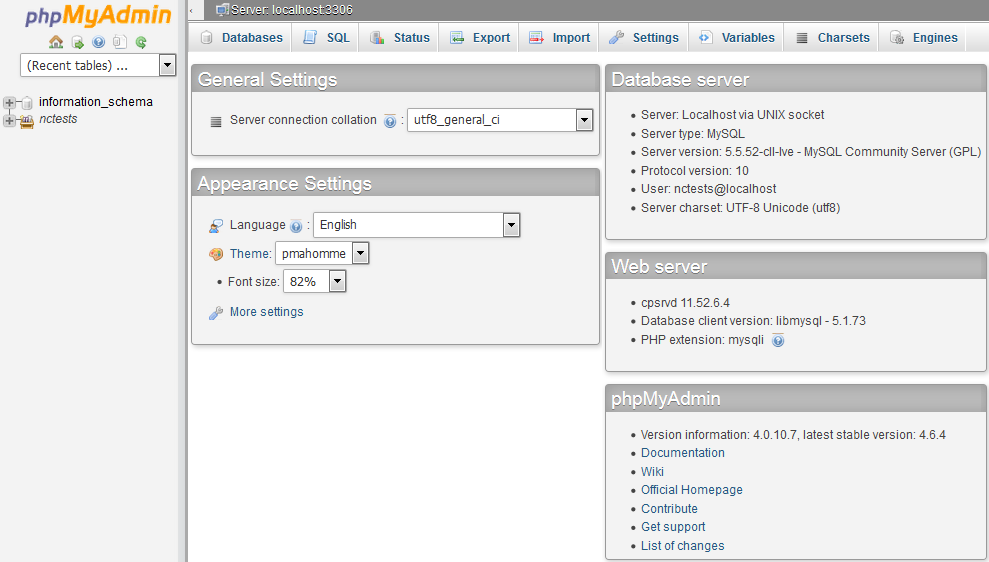
Databases
The Databases tab lists all the databases which can be managed through the cPanel user.
If you enable the statistics for the databases, you will see a table with the used collations, the number of the tables and rows, the size of the data and indexes, the total size and the overhead.
SQL
In this tab you can run SQL queries either by entering the entire SQL query code or manually defining the parameters of the query.
Keep in mind that this tab is context-sensitive, which means that depending on what you’re looking at, the target of your SQL queries might be different, e.g., if you are on the home page of phpMyAdmin and do not have any databases selected, if you click on the SQL tab, any queries you run will apply to the overall server (or hosting account if on shared hosting).
Export
The Export tab allows you to export the database tables content in different formats â$“ CSV, SQL, PDF, Microsoft Excel, Microsoft Word, XML, etc. You can select either all the database tables or choose specific ones.
This tab is also context-sensitive – you can either export all databases or a single database/table.
Import
The Import tab allows you to import your database tables from a file saved on your local computer.
NOTE: You can only import the databases that are under 1 GB. If you database backup is bigger than this, you will need need to import it via SSH.
Database Management
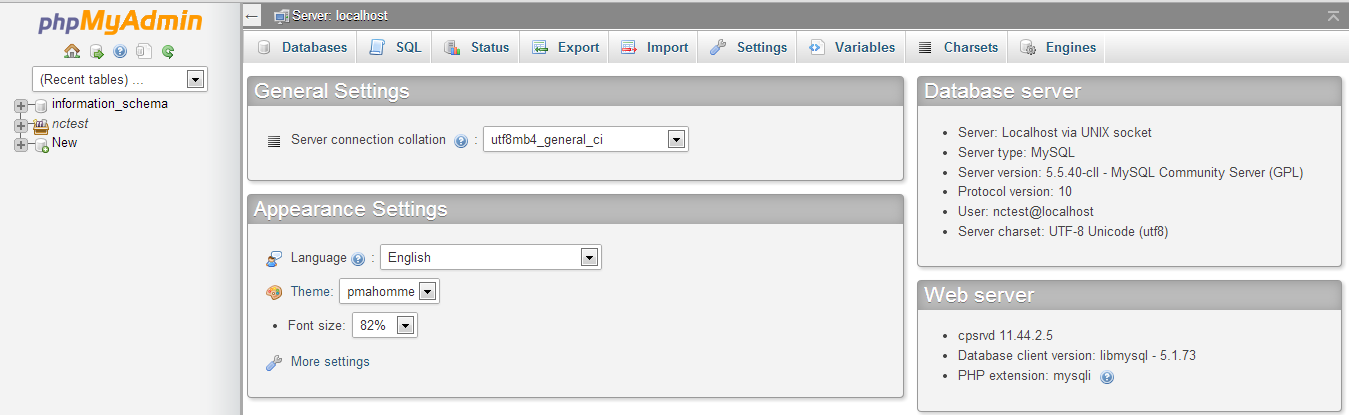
Go to the Databases tab and click on the database you would like to manage:
Â

Then create a table:
1. Enter the name of your table in the field Name
2. Enter the number of columns in the field Number of Columns
3. Click on Go to proceed to the next screen
4. Define the column(s) by providing the following information:
  4.1. Name
  4.2. Select the Type of data for the column. Some common types include:
- INT = Integer (a number without a decimal point)
- CHAR = Characters (text up to a specific length)
- VARCHAR = Variable Length Characters (does not have a fixed width)
- TEXT = for holding large amounts of text
- DATE = only for dates
- DATETIME = only for a date and time format.
  4.3. Define the Length/Values if required. For example, for the CHAR type you will need to specify the maximum number of characters allowed.
  4.4. The other fields are optional.
5. Click on Save once you are finished.
The possible actions you can perform to a chosen table are: Browse, Structure, Search, Insert, Empty and Drop:

Browse
Only the tables with existing records can be browsed. Once you click on the Browse icon, a new window with the records list will be opened. You can edit the chosen record by clicking on the Pen icon. You will see then the record structure and will be able to modify the values of the records.
Â
Structure
The Structure screen shows you the database’s table structure. It shows you the fields’ names, their types, collations, attributes, additional information, the default values and whether the fields’ values can be NULL.
Search
Through the Search action you can generate a search query for the chosen table. You can either write the WHERE clause, or you can use the “query by example” functionality. You should click on the Go button to execute the query.
Insert
Using the Insert action you can insert records in your database table. Once you fill in the corresponding values, click on the Go button and the new record will be inserted.
Empty
The Empty action allows you to empty your database table, removing the data and keeping the empty table.
Drop
Through the Drop action you can delete the whole table and all the records stored in it.
That’s it!
             Â
                     Need any help? Contact our HelpDesk