Installing an SSL certificate on Apache
- Category : SSL Installation
- Posted on : Feb 14, 2020
- Views : 1,452
- By : HostSEO

This guide provides an overview of SSL Certificate installation on Apache web server, one of the most popular web servers.
Since there are two versions of Apache webserver (â$œhttpdâ$ for RHEL-based Linux distributions and â$œapache2â$ for Debian-based Linux distros), we cover SSL certificate installation for both.
For SSL installation on both, the following files are needed:
- SSL certificate - a PEM-formatted file (the usual extensions are .pem, .crt, .txt) which can be downloaded from your Namecheap account or from the email you received from Sectigo CA.
- Private key - a code (or file with the code, the usual extensions are .key, .pem, .txt) which is generated along with the CSR code used for SSL activation. If it was generated on the server, it will be located in the same folder that the generation command was run in, unless a different location was specified manually.
- CA Bundle - a file with several other certificate codes (intermediate and root certificates of the SSL chain of trust) provided along with the SSL certificate file in your email from Sectigo and in your Namecheap account. It can also be downloaded here.
Table of contents:
- Checking Linux distribution type
- Uploading SSL files to the server
- SSL Certificate installation on httpd
- SSL Certificate installation on apache2
Checking Linux distribution type
If you have an RHEL-based Linux distro (CentOS, RedHat, etc.), go here: SSL Certificate installation on httpd.
If you are not sure which Linux distro you have or which version of Apache is being used, run one of the following commands:
httpd -S or apachectl -S
(httpd is an Apache package for RHEL-based Linux Distros, whereas apachectl is for Debian-based systems).
If the â$œCommand not foundâ$ message is shown, try another option. The command that gives you an output with the server setup details will determine your distro and Apache type. Once you figure out which type you have, head to the corresponding installation guide.
Uploading SSL files to the server
Before starting the installation, the certificate files should be uploaded to the server. There are a number of ways to upload SSL files to the server. In this guide, we will mention the two most popular methods: FTP and manual upload via SSH.
- FTP
FTP protocol can be used to transfer files to the server.
Itâ$™s recommended that you place the certificate files in the same directory, so that you will not lose them. For example, you can place them in the following location:/etc/ssl
If you experience any issues during the FTP connection or file upload, check out our range of FTP guides. - Manual upload via SSH
You can manually create a file on your server and paste the necessary SSL contents over SSH.
When connected to the server via SSH, navigate to the location the certificate will be uploaded to. We recommend gathering all of the files in one directory, so that you will not lose them. For example, you can place them in the following location:/etc/ssl
After that, you need to create an empty file. Usually, the commandscat yourfilename,touch yourfilename,nano yourfilenameorvim yourfilenamecan be used for this purpose.
Once the empty file is created and opened for editing, please copy the SSL file contents from your local machine and paste them to the opened file. Make sure to save the file when youâ$™re done.
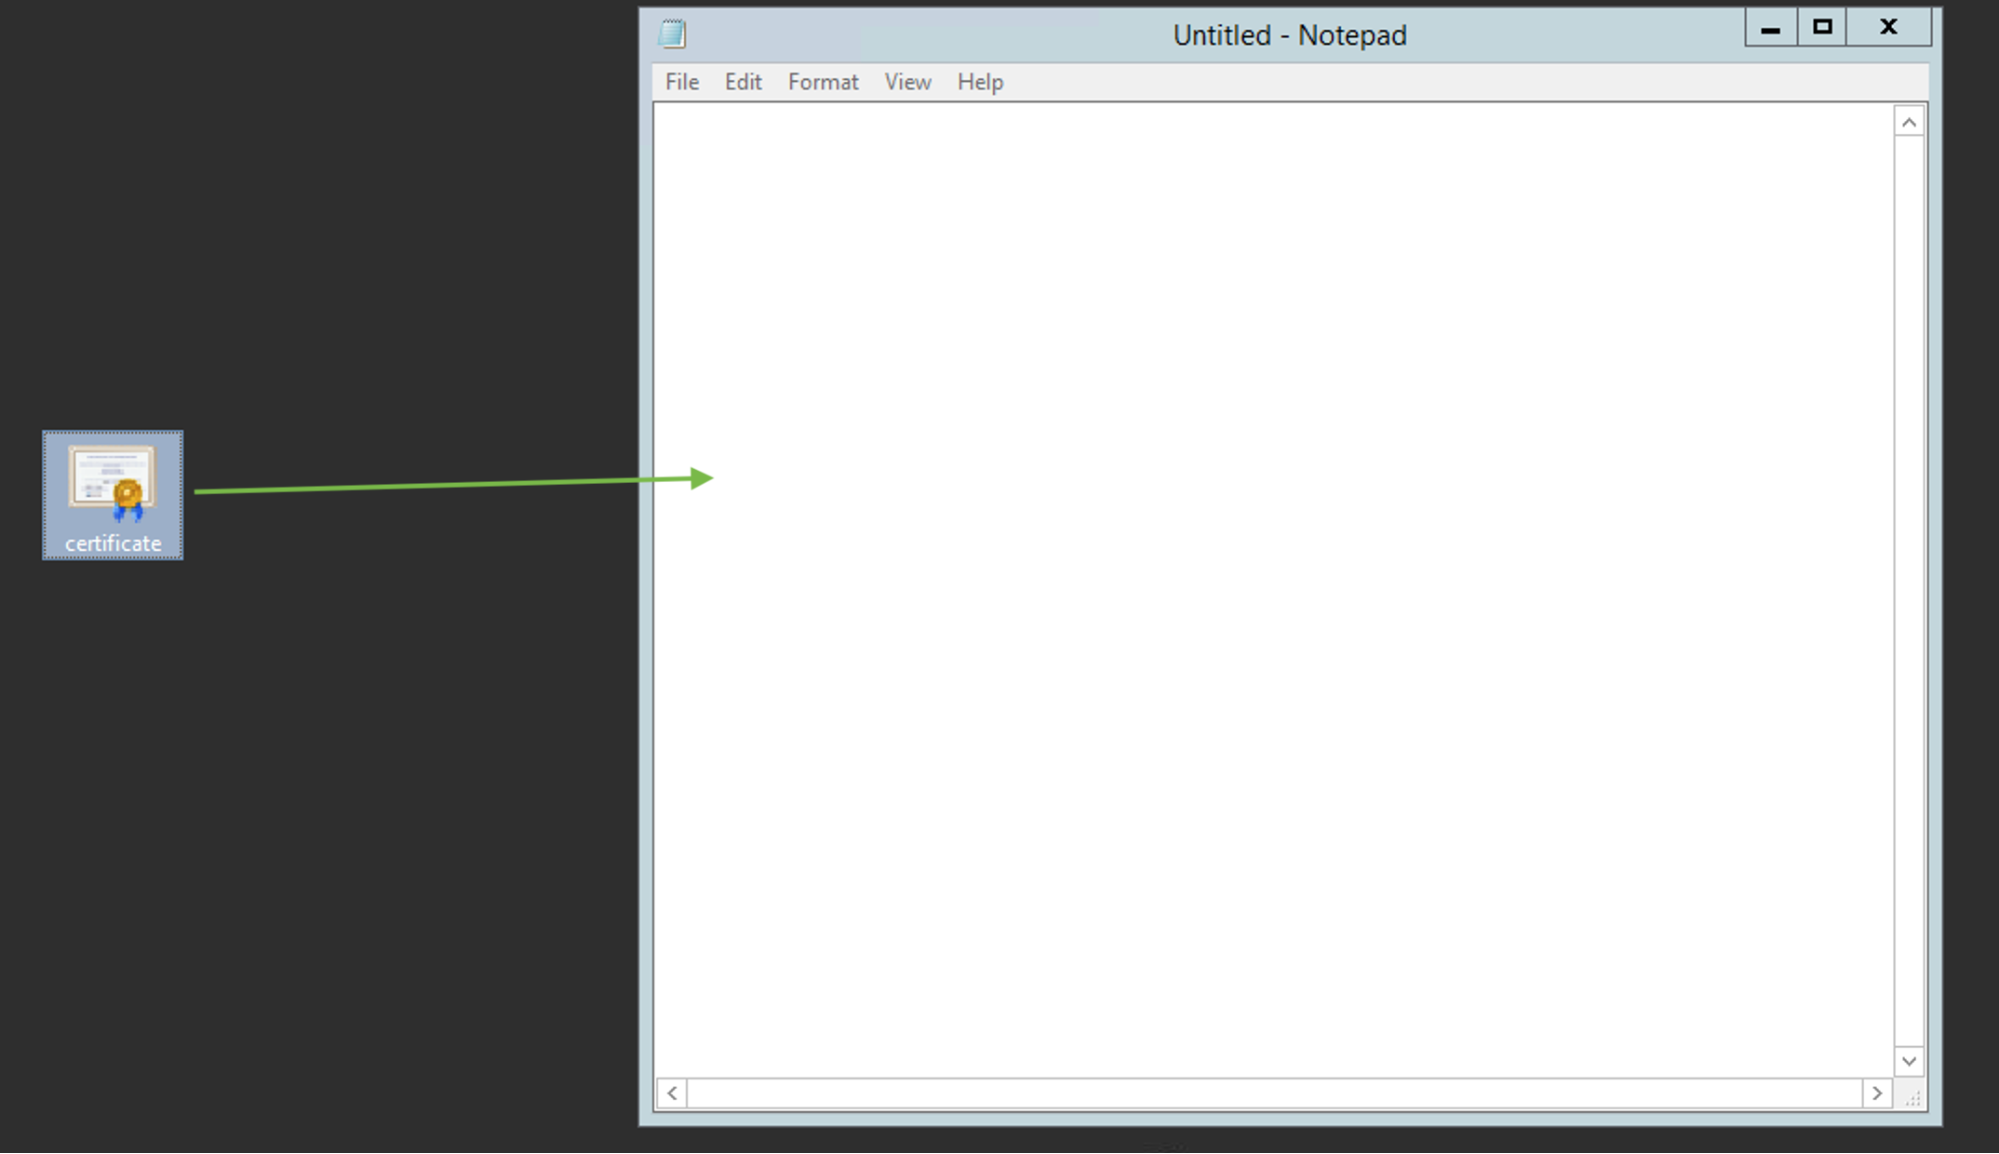
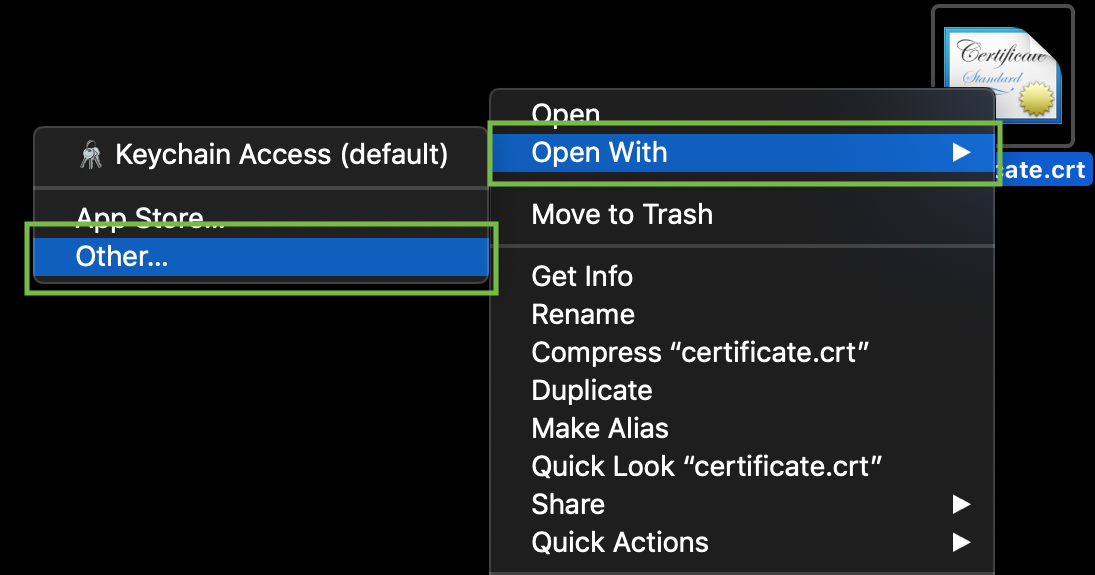
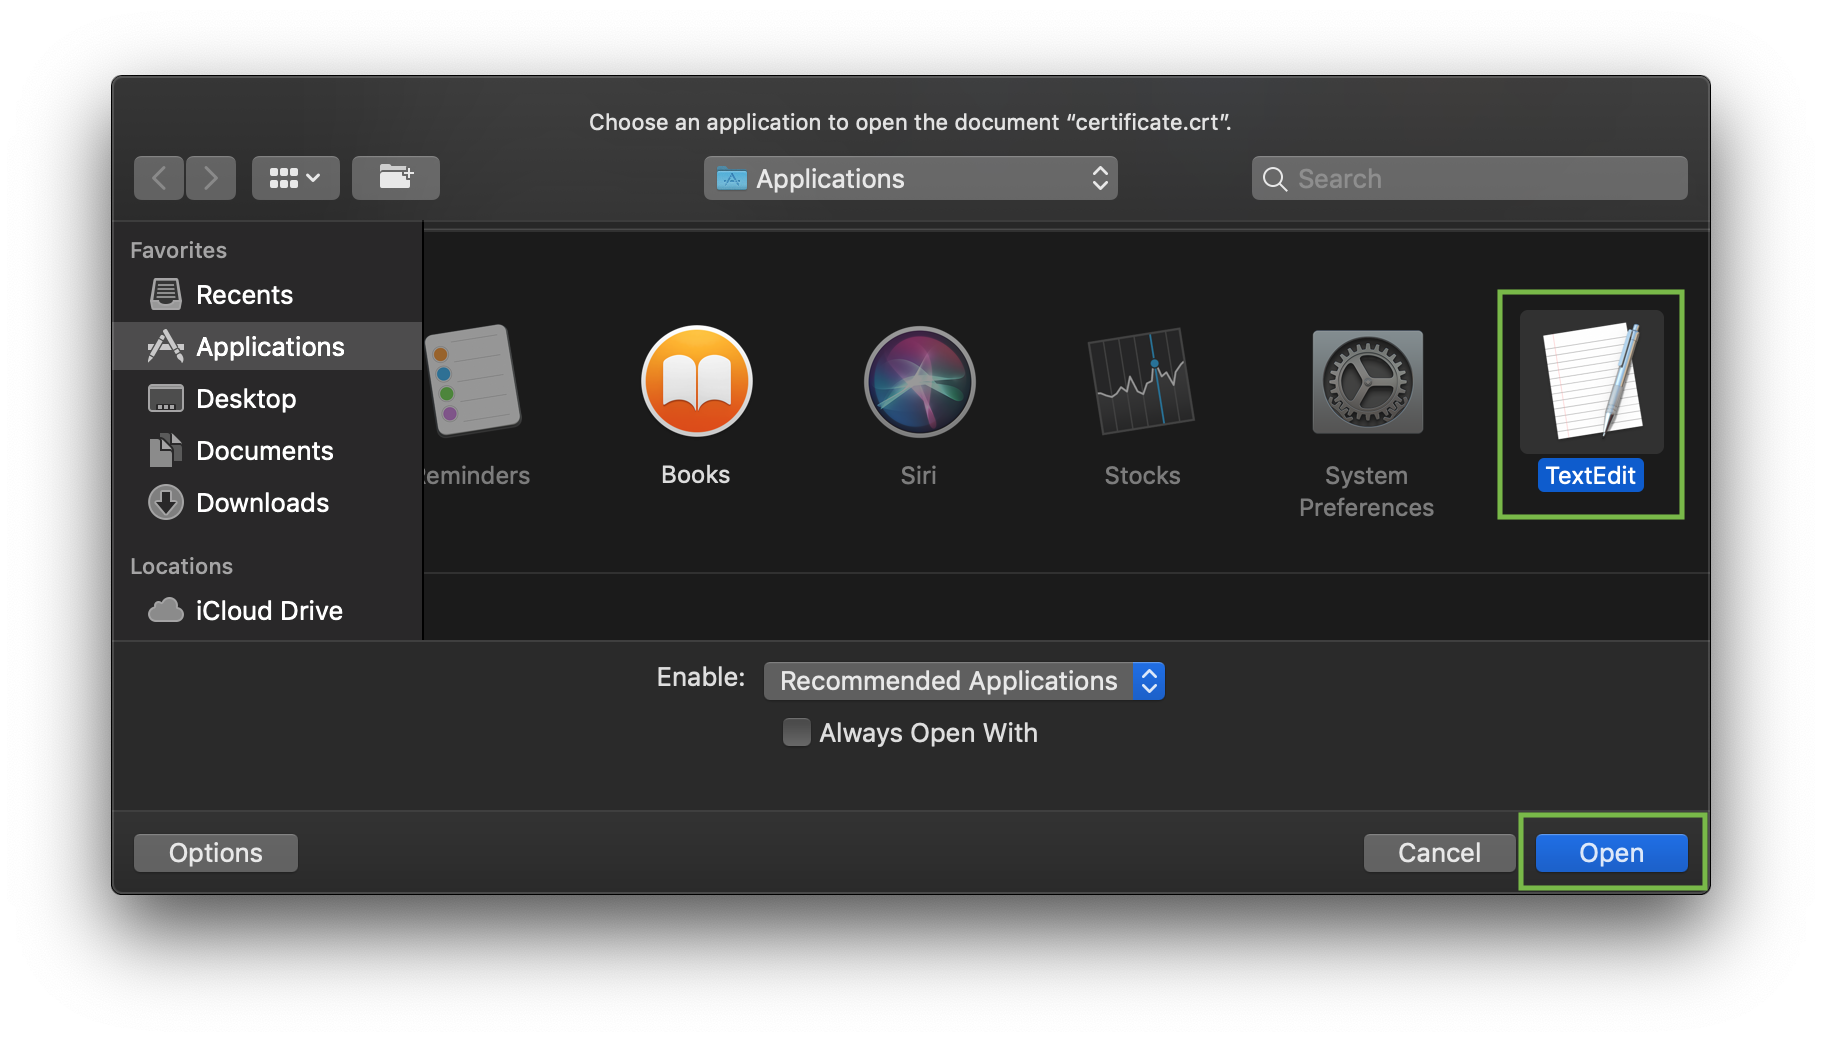
To check the contents of the SSL files on your PC or Mac, you can drag and drop them to Notepad (if on Windows) or open them using TextEdit (if on macOS).
Windows:
macOS:
Press â$œControlâ$ key click on the file:
As an example, letâ$™s take a look at creating a file via command cat. You can create files on the server and paste in contents by entering the following command:
cat >> filename
For example, letâ$™s create our certificate file on the server:
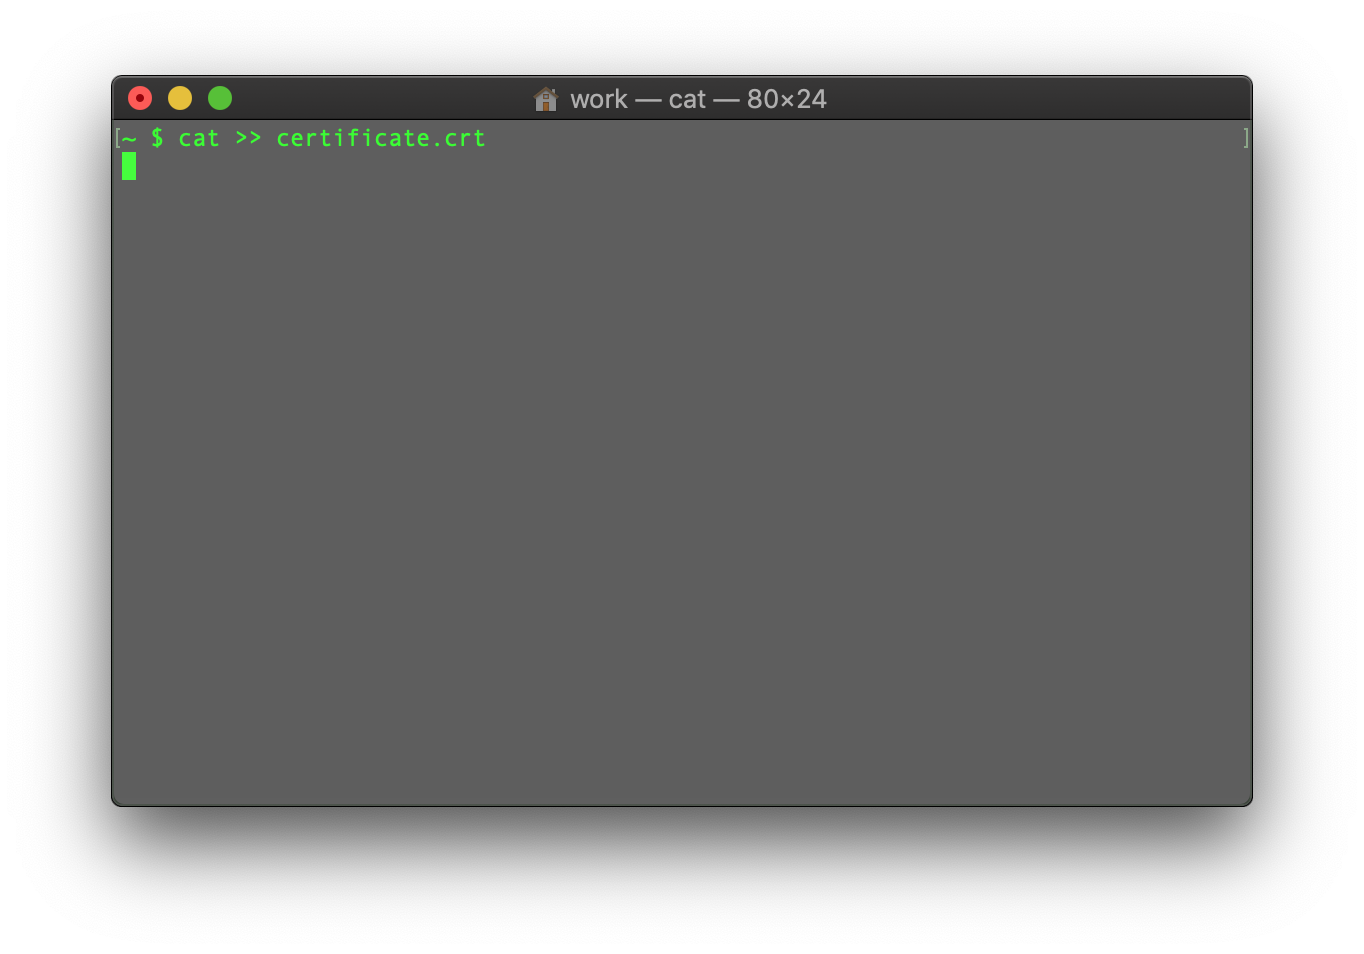
When the command is entered, paste the certificate code into the terminal/SSH client.
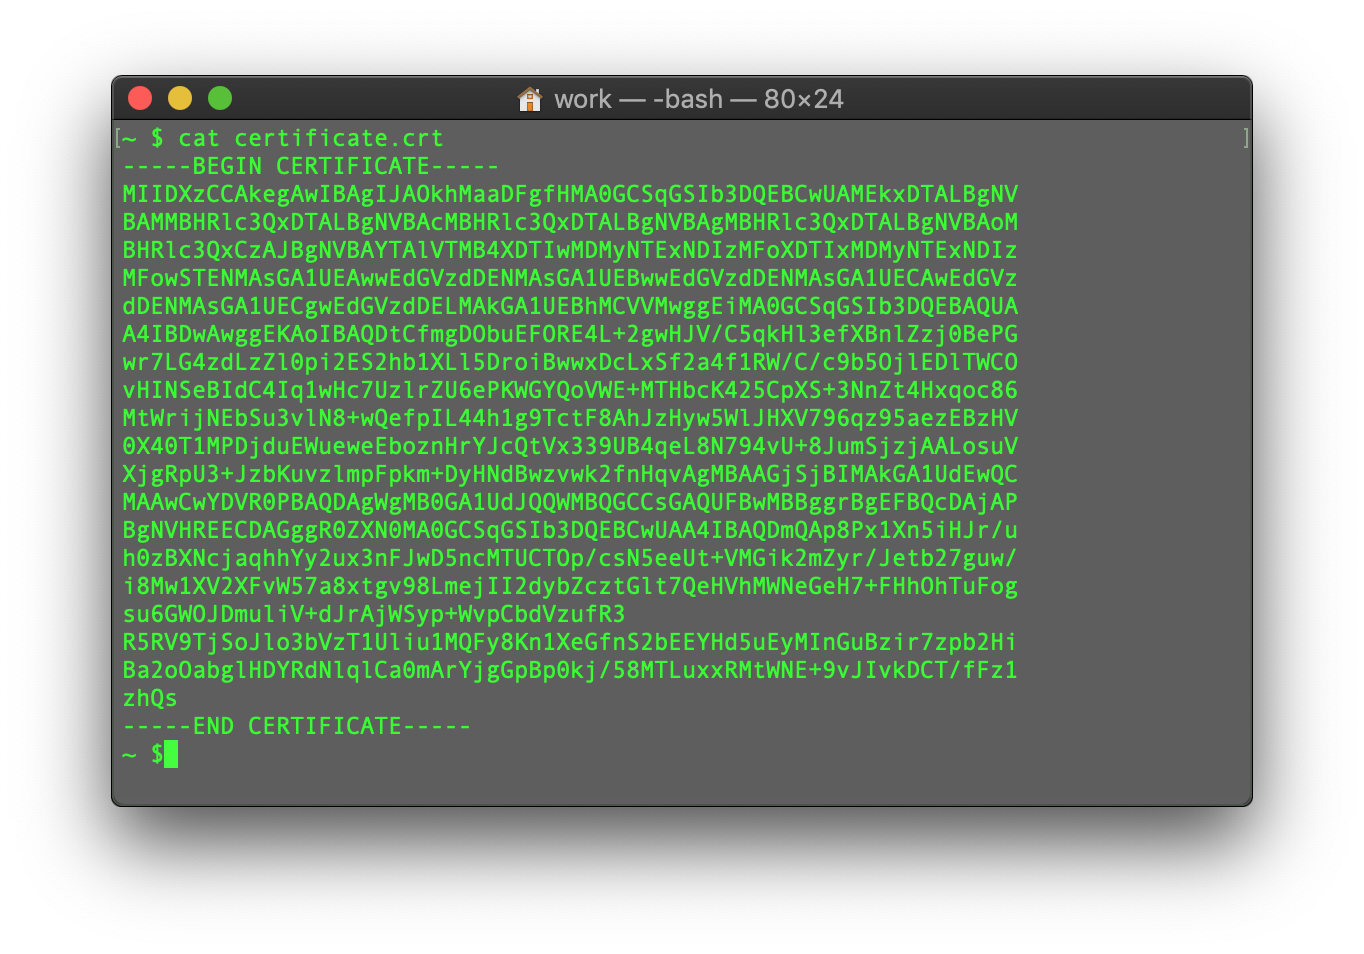
Ensure thereâ$™s no empty line at the end and press CTRL+D to save the file.
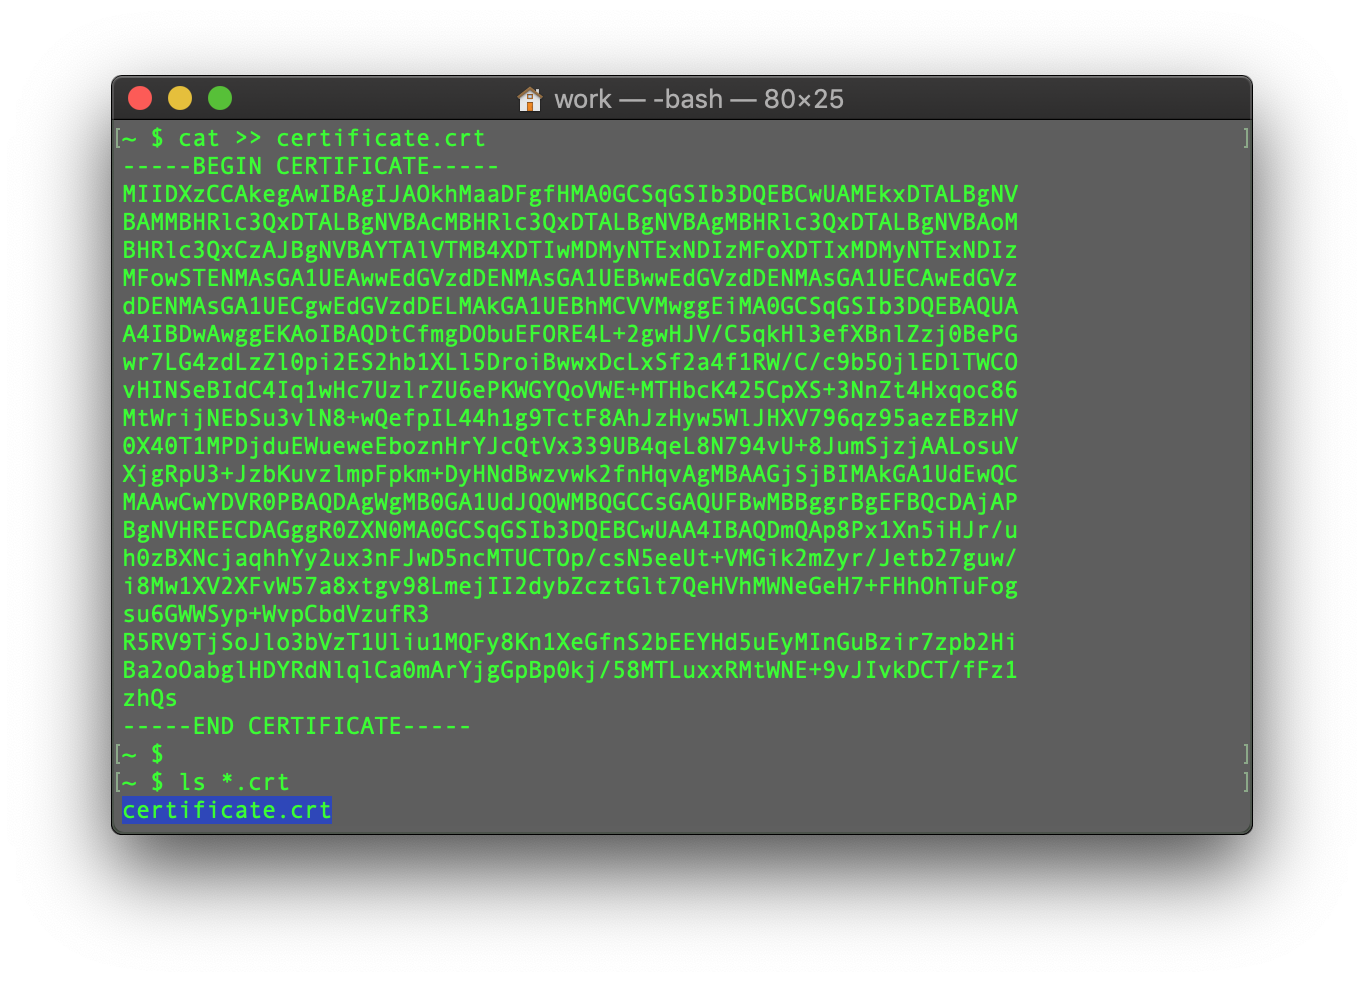
You can check the contents of the newly created command by typing the next command:
cat filename

You may repeat the process with the CA Bundle file and the Private key file (if the CSR code and Private key were generated in another place, not on this server, and you need to move the Private key to the server manually).
Find more useful tips about file creation and saving via SSH here:
Select the guidelines on your further SSL installation steps depending on exact server type:
Categories
- cPanel Question 47
- cPanel Software Management 29
- cPanel Tutorials 13
- Development 29
- Domain 13
- General 19
- Linux Helpline (Easy Guide) 156
- Marketing 47
- MySQL Question 13
- News 2
- PHP Configuration 14
- SEO 4
- SEO 42
- Server Administration 84
- SSL Installation 54
- Tips and Tricks 24
- VPS 3
- Web Hosting 44
- Website Security 22
- WHM questions 13
- WordPress 148
Subscribe Now
10,000 successful online businessmen like to have our content directly delivered to their inbox. Subscribe to our newsletter!Archive Calendar
| Sat | Sun | Mon | Tue | Wed | Thu | Fri |
|---|---|---|---|---|---|---|
| 1 | 2 | 3 | 4 | 5 | 6 | |
| 7 | 8 | 9 | 10 | 11 | 12 | 13 |
| 14 | 15 | 16 | 17 | 18 | 19 | 20 |
| 21 | 22 | 23 | 24 | 25 | 26 | 27 |
| 28 | ||||||
Recent Articles
-

Posted on : Sep 17
-

Posted on : Sep 10
-

Posted on : Aug 04
-

Posted on : Apr 01
Tags
- ts
- myisam
- vpn
- sql
- process
- kill
- tweak
- server load
- attack
- ddos mitigation
- Knowledge
- layer 7
- ddos
- webmail
- DMARC
- Development
- nginx
- seo vpn
- Hosting Security
- wireguard
- innodb
- exim
- smtp relay
- smtp
- VPS Hosting
- cpulimit
- Plesk
- Comparison
- cpu
- encryption
- WHM
- xampp
- sysstat
- optimize
- cheap vpn
- php-fpm
- mariadb
- apache
- Small Business
- Error
- Networking
- VPS
- SSD Hosting
- Link Building
- centos
- DNS
- optimization
- ubuntu


