How To Install and Configure Sysstat on Linux Desktop
- Linux Helpline (Easy Guide)
- 3,661 views
- SEO-CRAWLER
Sysstat (system statistics) is one of the most lightweight and best system monitoring tools for Linux distributions. If you’re a system administrator, you might know that monitoring every single parameter of your system is important to keep it functional. As the Sysstat is a command-line-based system monitoring tool, it provides real-time system info. Furthermore, you can also troubleshoot your system through the Sysstat tool. Installing the Sysstat system monitoring tool is quick and hassle-free on a Linux system.
Features of Sysstat (System Statistics) Tool
The Sysstat tool uses the SAR command to print different types of information about the system. Here, we will see a brief explanation of a few primary and most used sysstat commands.
- iostat: The iostat or the input/output statistics command is used to print the CPU load.
- mpstat: You can run the mpstat commands to print the processor core information, thread number, and other related statistics about the system processor.
- pidstat: The pidstat command can print individual reports for RAM, processor, CPU, and other input-output devices. It can show the reports from the ongoing processes of the Linux kernel.
- tapestat: The tapestat command is used to print boot-time information and combined information about the connected devices. It can also show the network statistics.
There are more system statistics commands that you can run on your shell to become a power Linux user. If you’re keener about the system statistics tool, you can check this link out.
Install Sysstat On Linux System
System statistics tool allows you to monitor the CPU usage, RAM condition, SWAP performance, and other system parameters. Installing the Sysstat tool doesn’t require any additional dependency applications, but ensure that your system repository is up to date. This post will see how to install, configure, and get started with the Sysstat monitoring tool on the Debian, Red Hat, and Arch Linux systems.
1. Install Sysstat On Ubuntu/Debian
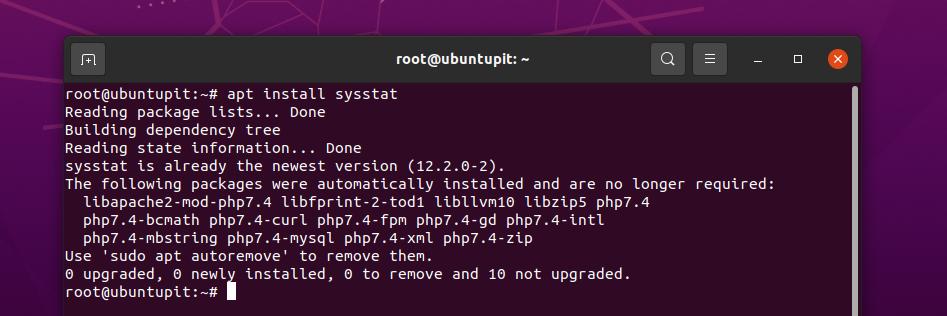
If you’re a Ubuntu or other Debian-based Linux user, you can install the Sysstat tool on your system through the official Linux repository. Run the following aptitude command on your terminal shell with root privilege to install it on your system.
sudo apt update
sudo apt install sysstat
2. Install Sysstat On Fedora And Red Hat Linux
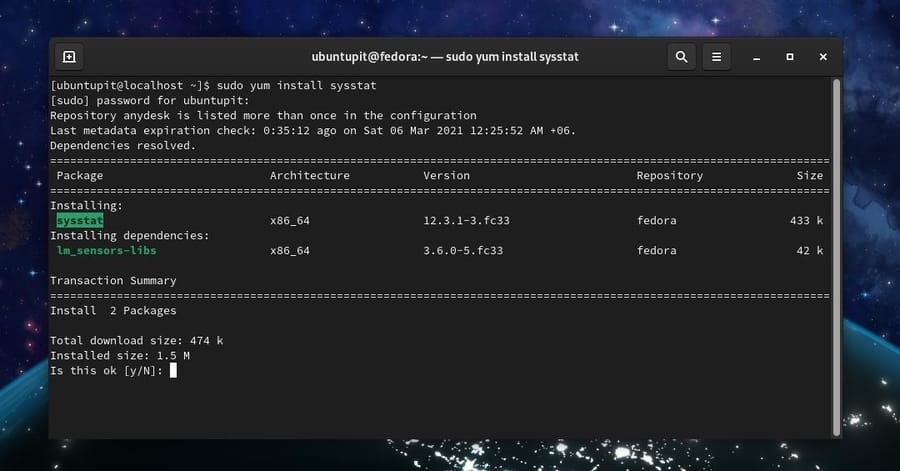
The modern Fedora workstation supports both DNF and YUM commands; here, we will use the YUM command to install the Sysstat monitoring tool on our Red Hat-based Linux system. You can run the following YUM command on your terminal shell to install the Sysstat tool on your Red Hat system.
sudo yum install sysstat
I’ve tested the above command on my Fedora Workstation; hence, if you find any issues installing it, you can run the following command given below to avoid issues.
yum install sysstat -y -q && yum list installed sysstat -q
3. Install Sysstat On Arch Linux
Installing the system statistics tool on an Arch-based Linux system is similar to installing it on other Linux systems. You can install the Sysstat tool on your Arch Linux system through the Pacman command. Run the following Pacman command given below on your shell to install the system statistics tool.
sudo pacman -Rs sysstat
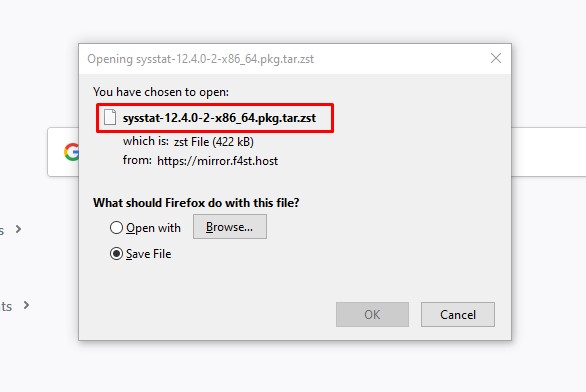
I’ve tested the above command on my Manjaro KDE Linux; if you have trouble installing it via the command-line interface, you can get the compiled package of Sysstat for your Arch-based system. You can click here to download the Zstandard file of Sysstat and install it through your default package installer tool.
Run Sysstat Tool On Linux
After successfully installing the system statistics tool on your Linux system, you can now use the Sar (System activity reporter) commands on your terminal shell to monitor your system. Here, we’ll see a couple of examples of the Sar command to learn how to get started with it.
I must note, all the commands that I’ll show in this part are executable on Debian, Red Hat, and Arch Linux systems.
Step 1: Enable and Configure Sysstat
In the beginning, run the following commands on your shell to start and enable the Sysstat tool on your machine. Don’t forget to run the commands as a root user; the system control commands require root privilege.
sudo systemctl start sysstat
sudo systemctl enable sysstat
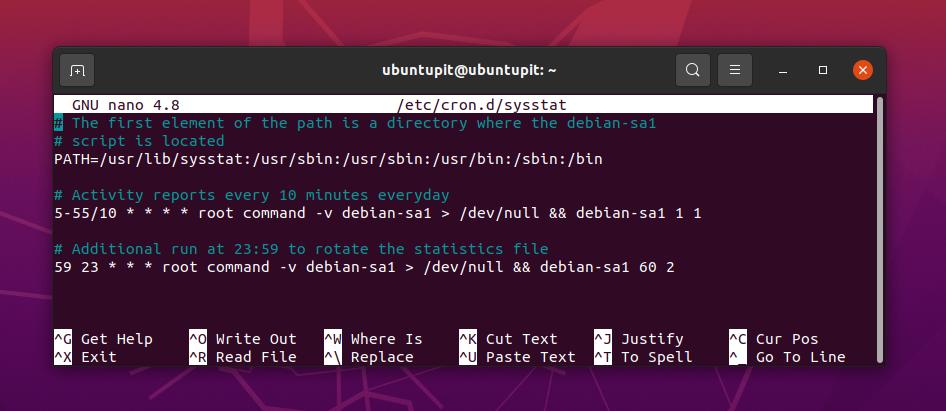
You can also change the default settings of the Sysstat system monitoring tool to customize it. But don’t dare to do it if you don’t know how to customize it. Or, you can make a copy of the default settings before customizing so that you can replace the original script if anything goes wrong. Now, open the Sysstat configuration script by running the following command on your terminal shell.
sudo nano /etc/cron.d/sysstat
Step 2: Testing Sar Commands on Linux
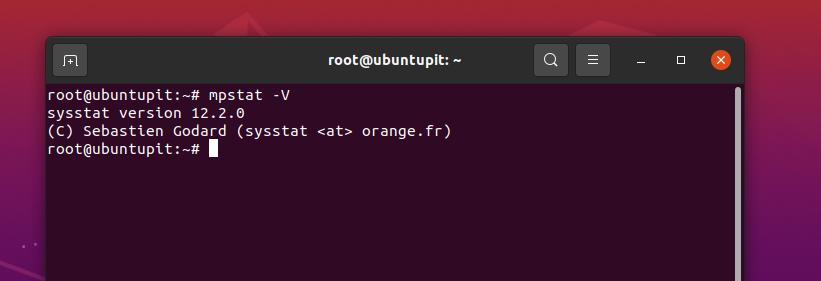
After installing and configuring the Sysstat system statistics tool on Linux, it’s now time to run a few commands on the terminal shell to check if it works perfectly. First, you can run a quick version check command to know if the tool is working on your system or not.
mpstat -V
The following iostat command will display the CPU statistics, the number of cores in the CPU, Kernel version, devices, and the read-write speed of data on your system.
iostat -d 1 5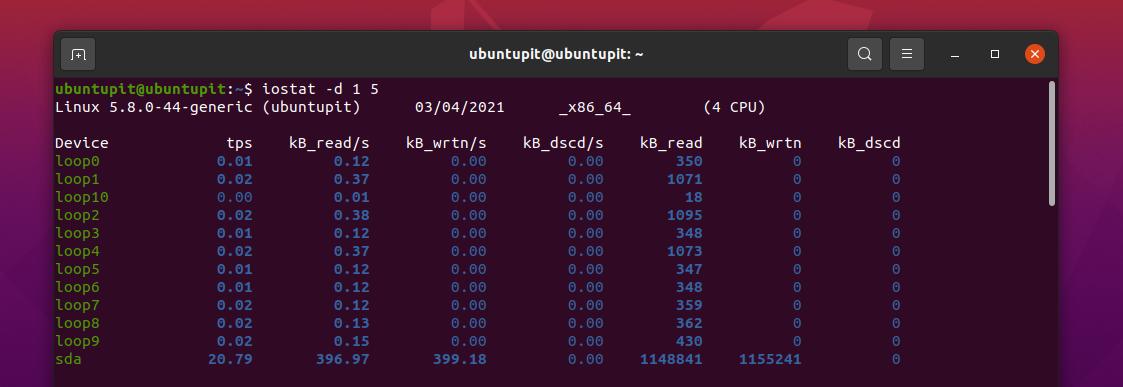
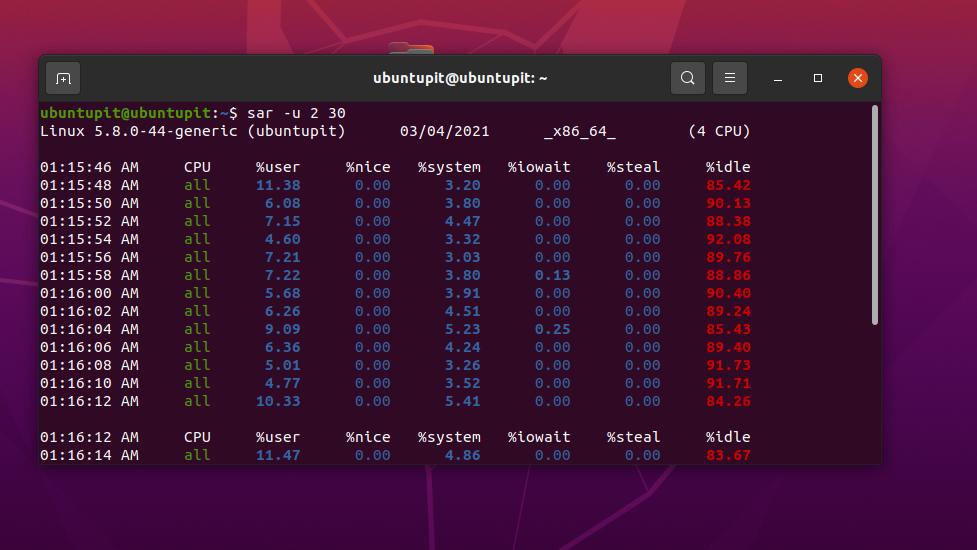
The next command will generate a command-line-based representation of your CPU status. Here, the u 2 30 syntax is used to mention the time gap between two data. You can change the time difference by editing the time duration.
sar -u 2 30
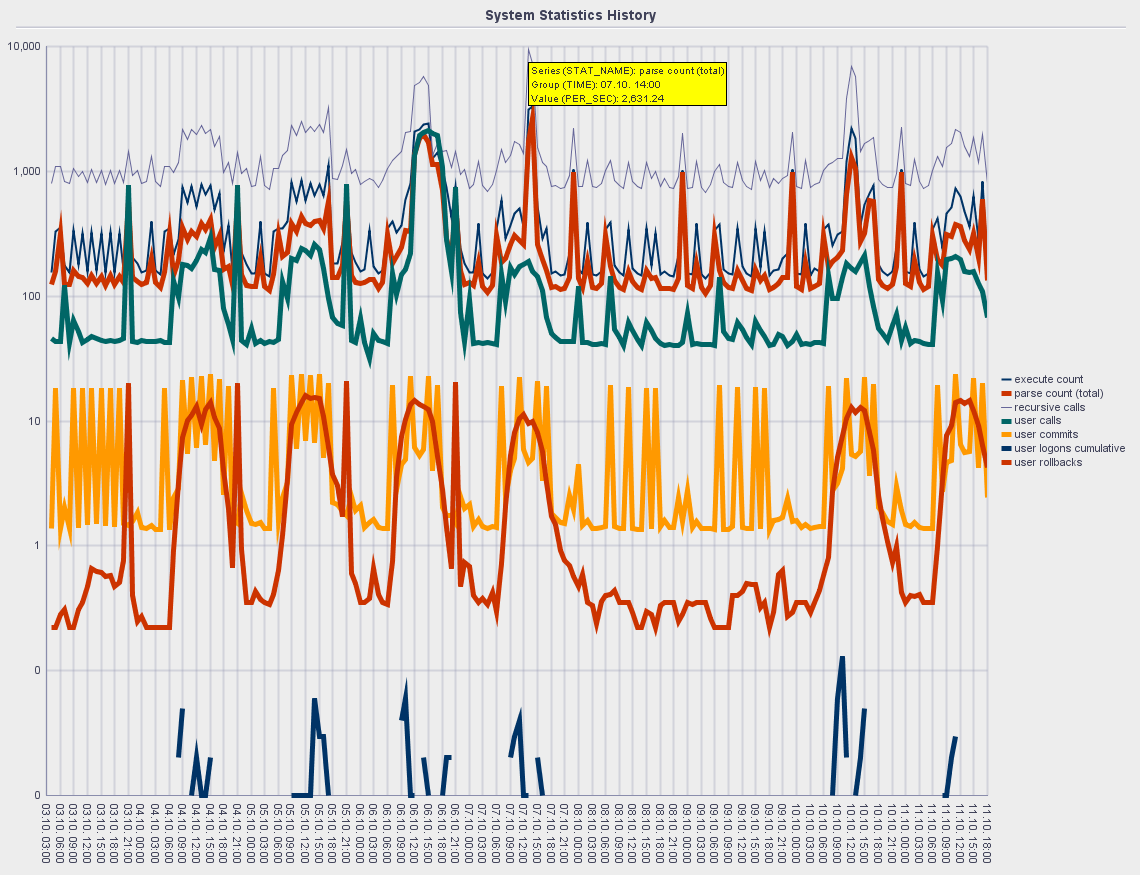
If you need to visualize your CPU or other system loads with a graph, you can use the Ksar command on your Linux terminal shell to make a graph of your system load. You can download the Ksar tool and install it on your system for graphical representation of your system.
Final Words
In the quick post, I’ve described the methods of installing the Sysstat system monitoring tool on a Linux system. I’ve also described how to configure and get started with the Sar commands on a terminal shell. If you still find any issues installing it, try to install it from the source code on your Linux system.
Please share this post with your friends and the Linux community if you find it helpful. You can also write your opinions regarding this post in the comment section.