How to edit php.ini on Shared servers
- Category : General
- Posted on : May 21, 2020
- Views : 2,579
- By : HostSEO

This guide describes how to edit the php.ini file on shared servers (Stellar and Stellar Plus plans, as well as old Value, Professional, and Ultimate plans).
If your account is hosted on the Business server (Stellar Business or old Business SSD plans), use this guide.
With the help of PHP Selector implemented on our Shared Hosting servers, you can easily modify basic PHP settings via your cPanel >> the Exclusive for Namecheap Customers section >> Select PHP Version menu. You can find detailed guidelines here.
However, advanced PHP settings are missing from the Select PHP Version tool and must be manually configured in the php.ini file. You can either create the file or upload the existing one to your account.
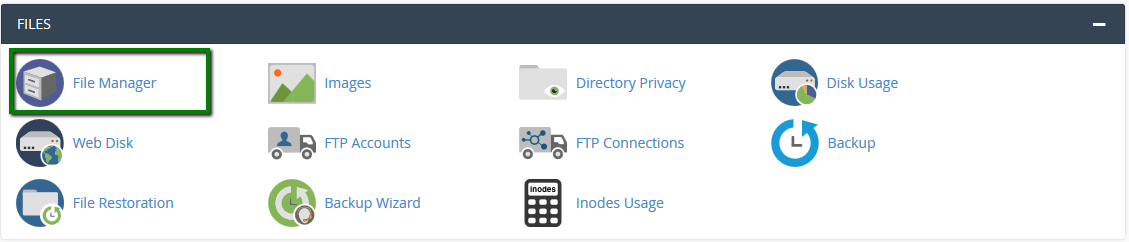
1. Log into your cPanel account, go to the Files section >> the File Manager menu.
For cPanel Basic Theme:
For cPanel Basic Theme:
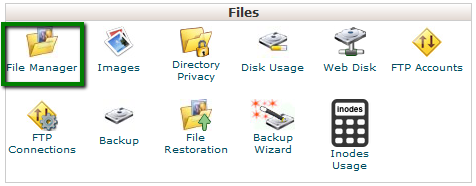
For cPanel Retro Theme:
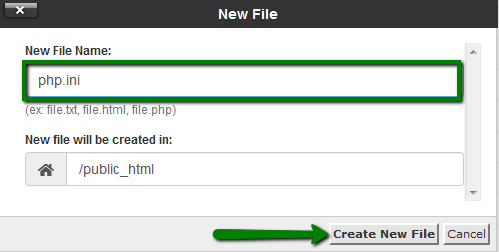
2. Navigate to the root directory of the domain, click on New File, and create a file named php.ini:
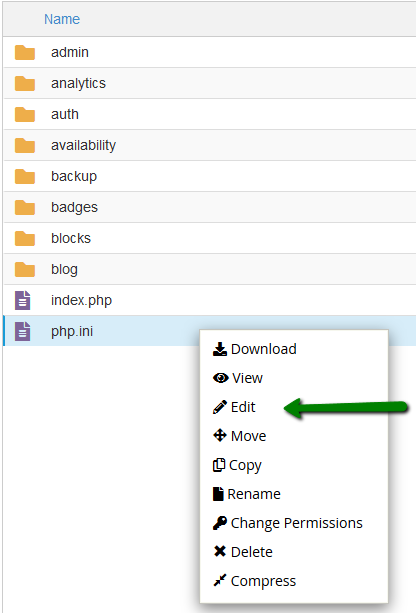
3. Find the newly created file in the list, right-click, and choose Edit:
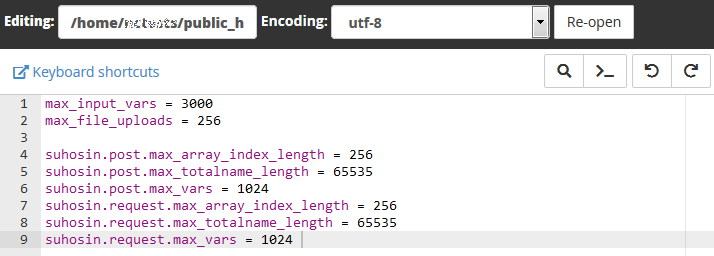
4. Add the required PHP settings and click on Save Changes in the top right corner:
To check the current PHP version and configuration, refer to this article.
1. Log into your cPanel account, go to the Files section >> the File Manager menu.
For cPanel Basic Theme:
For cPanel Basic Theme:
For cPanel Retro Theme:
2. Navigate to the root directory of the domain name in question, upload the php.ini file. Feel free to download php.ini below in the Attachments section at the end of the guide.
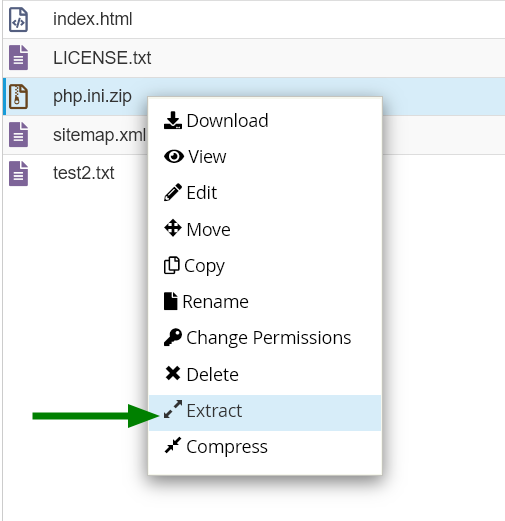
3. Once done, use the Extract option:
3. Once done, use the Extract option:
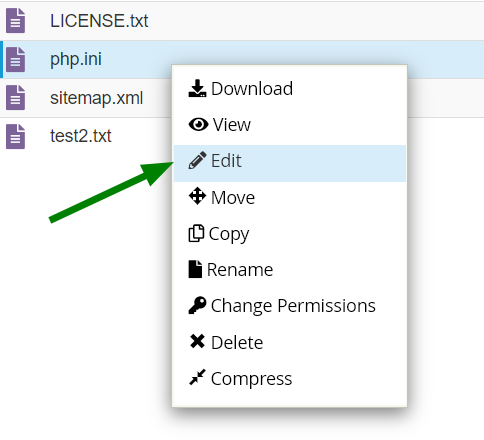
4. After that, right-click on php.ini to use the Edit option:
5. Here, you can use the search option and find the needed limit or value. In this example, it is upload_max_filesize.
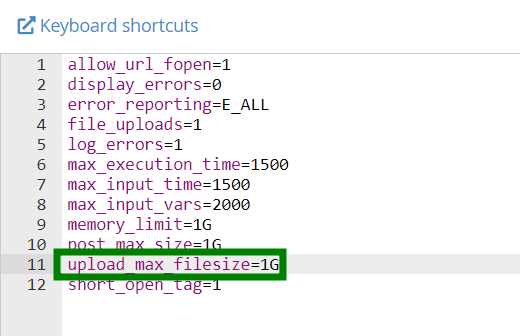
6. Once all the required changes are made, click Save.
That's it!
That's it!
Need any help? Contact our Helpdesk
Categories
- cPanel Question 47
- cPanel Software Management 29
- cPanel Tutorials 13
- Development 29
- Domain 13
- General 19
- Linux Helpline (Easy Guide) 156
- Marketing 47
- MySQL Question 13
- News 2
- PHP Configuration 14
- SEO 4
- SEO 42
- Server Administration 84
- SSL Installation 54
- Tips and Tricks 24
- VPS 3
- Web Hosting 44
- Website Security 22
- WHM questions 13
- WordPress 148
Subscribe Now
10,000 successful online businessmen like to have our content directly delivered to their inbox. Subscribe to our newsletter!Archive Calendar

| Sat | Sun | Mon | Tue | Wed | Thu | Fri |
|---|---|---|---|---|---|---|
| 1 | 2 | 3 | ||||
| 4 | 5 | 6 | 7 | 8 | 9 | 10 |
| 11 | 12 | 13 | 14 | 15 | 16 | 17 |
| 18 | 19 | 20 | 21 | 22 | 23 | 24 |
| 25 | 26 | 27 | 28 | 29 | 30 | |
Recent Articles
-

Posted on : Sep 17
-
Posted on : Sep 10
-

Posted on : Aug 04
-
Posted on : Apr 01
Tags
- ts
- myisam
- vpn
- sql
- process
- kill
- tweak
- server load
- attack
- ddos mitigation
- Knowledge
- layer 7
- ddos
- webmail
- DMARC
- Development
- nginx
- seo vpn
- Hosting Security
- wireguard
- innodb
- exim
- smtp relay
- smtp
- VPS Hosting
- cpulimit
- Plesk
- Comparison
- cpu
- encryption
- WHM
- xampp
- sysstat
- optimize
- cheap vpn
- php-fpm
- mariadb
- apache
- Small Business
- Error
- Networking
- VPS
- SSD Hosting
- Link Building
- centos
- DNS
- optimization
- ubuntu